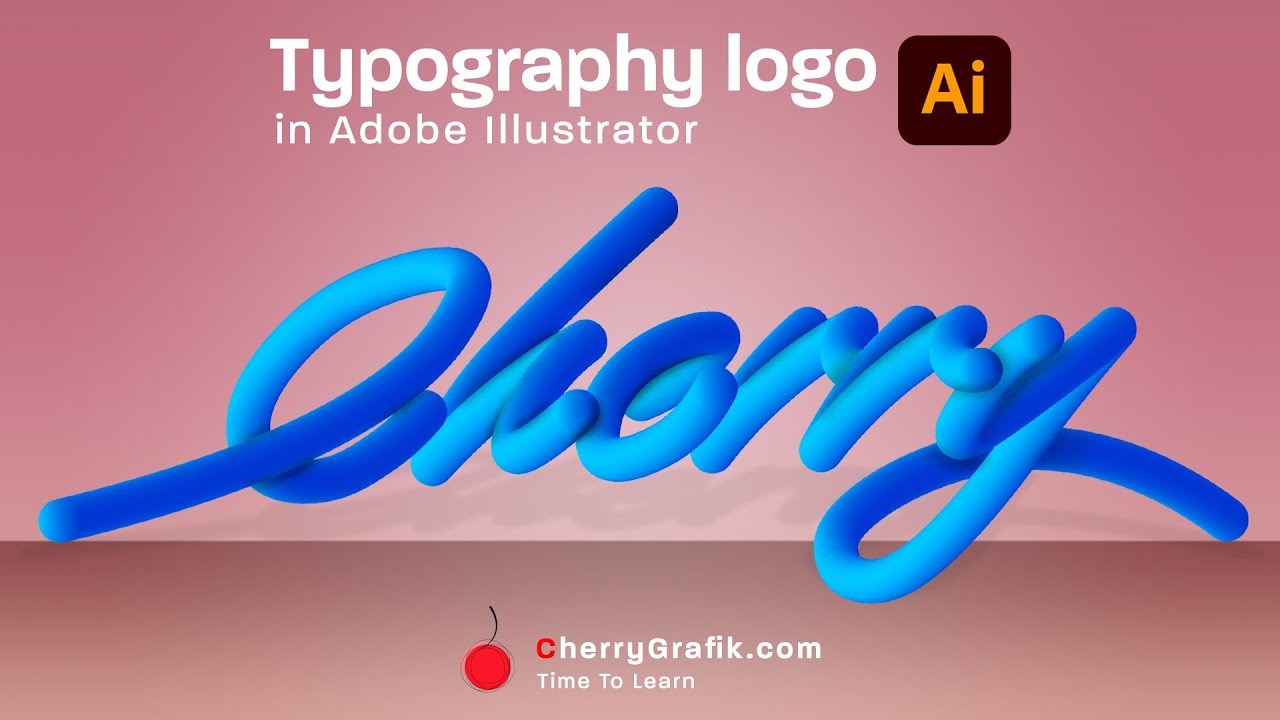
Typography is one of those art that makes a text visually appealing by arranging its letters in a beautiful way . The other use of putting the letters in an artistic way is logotype, where we can design a logo by arranging the letters of a company name together in very clear and visually beautiful and eye catching way. However, creating logotype and typography requires some technique apart from the taste of art and creativity. In this video we explain the techniques to create a typography in a step by step and pretty simple way. Follow along if you are interested in typo design and want to broaden your skills further.
Steps:
Open Adobe Illustrator and set a blank canvas.
Select the type tool from the tools on the left and write our desired text.
Decrease the text opacity and lock its layer.
This text is just to have a sample to draw over.
Select pen tool from the tools on the left.
Using pen tool draw over the text.
Select the stroke only instead of shape fill to have the border lines drawn.
Select the curvature tool from the left pane and click on the dots created by the pen tool to make the curves.
Select Width tool from the left pane and click on the lines to make them thicker.
This is to give an effect to the text by adding some thickness on some spots.
Delete the text layer we created first as a sample to draw over.
To create the pattern to apply on the text and blend it with the select the circle shape tool from the tools on the left and draw a small circle.
Remove the stroke and fill the shape with a desired color.
Copy the circle, if you are using windows, press Alt key on the keyboard and drag the shape and for Mac users do the same holding down the “option” key.
To add more copies with same spacing use Ctrl+D on windows keyboard or Command+D on Mac and repeat it until to get around 20 number of copies.
Blend all these circles, Select all the circles and open the “Object” menu.
Navigate to “Blend” and select “Blend Options” in the appeared window set the spacing to “Specified Steps” with the value of 10.
Press OK.
Navigate to “Object” menu again and click on “Blend” submenu and select “Make” to blend the circles.
create a copy of the blended shape using the same Alt+drag or Option+drag method.
Select the copied blended circles and at the same time select one letter of the text.
Navigate to the “Object” menu, then “Blend” submenu and click on “Replace Spine”.
To make the blend more consistent open the “Blend Option” again and set the steps value to 300.
If still there are some circles flashing out the typo click on the circles you want to remove and delete them using delete key on the keyboard.