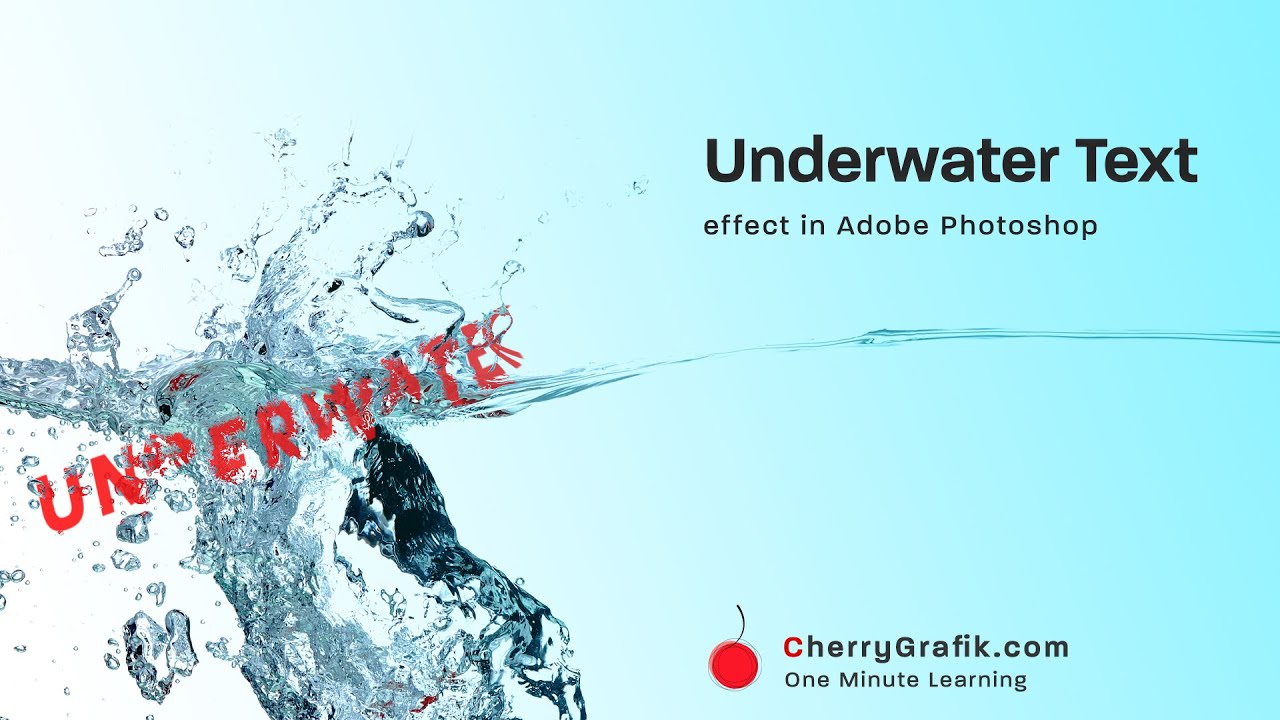
Putting text under water in Photoshop gives you the ability to dive into the water in your imaginations. Take your text with you from the paper and drag them down to the underwater world. In this video we learn a technique to put texts under water in Photoshop. This is done applying different effects our creative friend, Photoshop provide us with 😉 Get a water image and you are just some clicks away to make it, watch the video to expand your text underwater skills.
Steps:
Open Photoshop and Brows the water image.
Duplicate the file, first one the water image only and second one with a text on it.
On the first file, open the “image” menu and navigate to the “mode” submenu and select “grayscale”.
“save as” this first file in .psd format and close it.
In the second file select the text layer and open “filter” menu.
Navigate to “Distort” submenu and select “Displace”.
In the pop-up window click on “Convert to Smart Object”
In the appeared window set both horizontal and vertical scale values to 20 and press “OK”
Choose the first file in .psd format we just saved and open it in the second file.
Duplicate the background layer and drag it up to make it the first layer in the layer panel.
Right click on this layer and from the context menu click “Create Clipping Mask”.
Apply “Exclusion” effect on this layer.
Select the text layer and apply “Luminosity” effect on the text layer.