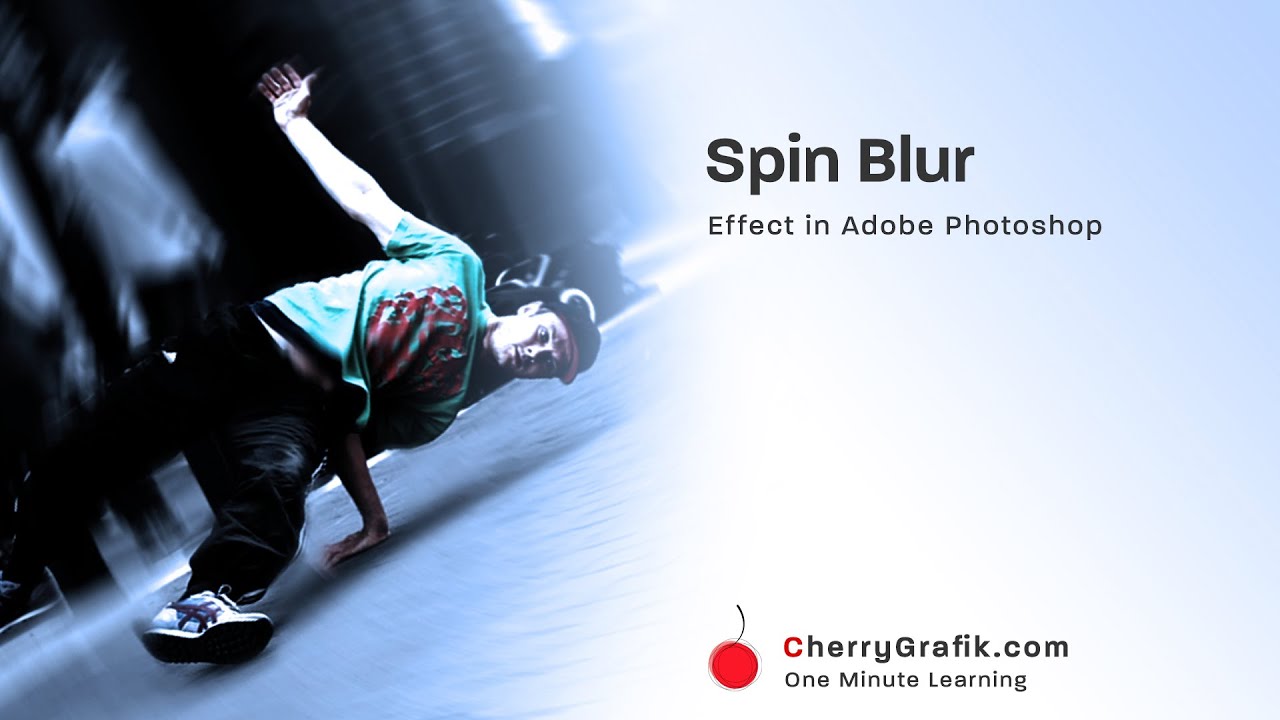
Have you ever wondered when an object is spinning around, why we see it blurry and when the spin speed is higher, we see less details about the object and it looks even more blurry! It is all about the speed, angle and in one word physics, and the ability of our eyes and brain to process the data it receives from an image. So, what if we want to fake this spin and rotation effect to an image!? Simple, we need to make them blurry to show the rotation and speed. In this video we learn how to apply Spin Blur effect to an image in Adobe Photoshop to create a natural spin effect.
Steps:
Open Adobe Photoshop and open your image file.
Right click on the image layer and convert it to a smart object.
From the top menu, select filter menu.
From the Blur Gallery submenu, select the spin blur effect (A circle appeared on the image which is to make Blur effect on the image).
Move the center of spin to the face of the picture (or the center of gravity in your object) and drag the circle over the whole image to apply the Spin Blur effect to whole the image.
On the right in the Blur tool window, change the Blur Effect impact on the image using the Blur angle and change the angle degree as desired.
When the effect you want is created press Ok at the top.
To sharpen the body and face parts of the image (other parts of the object you have in your image which are not rotating) select the brush tool from the left and make sure black color is selected.
Smoothly click and drag on other parts that we want to remove the blur effect.