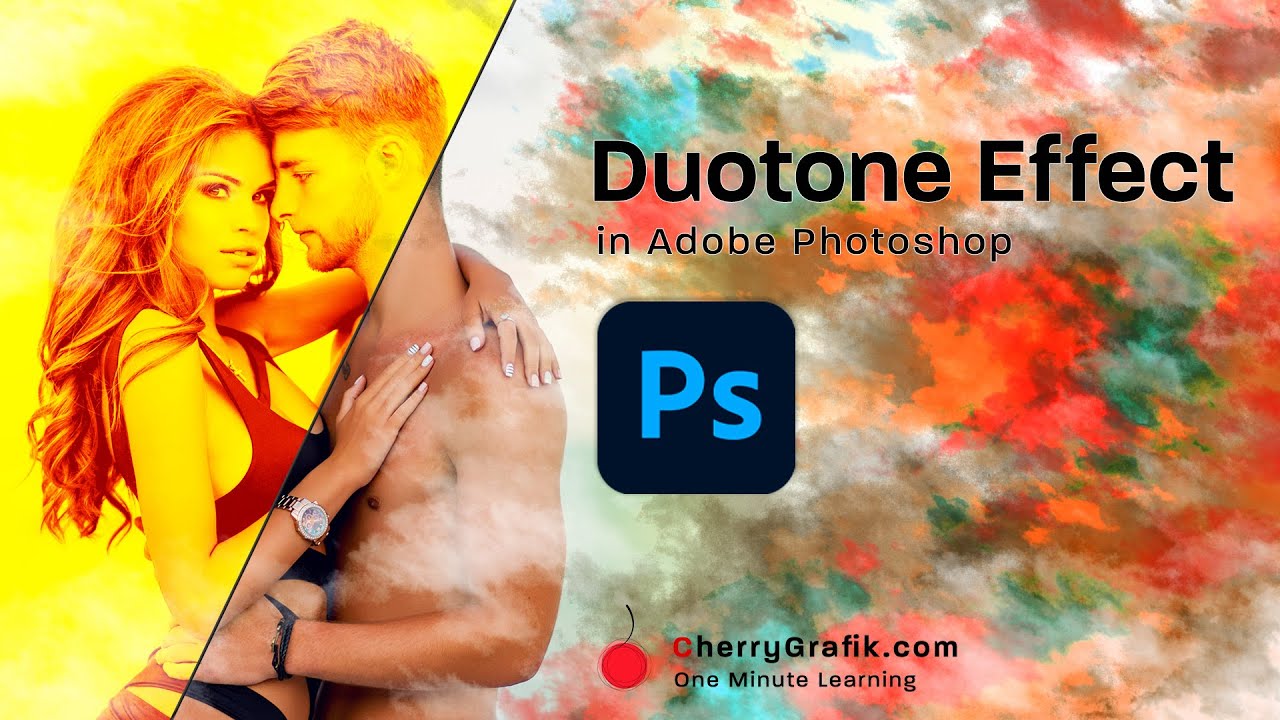
Duotone effect is now becoming a trendy effect again! Although there is no need to reduce the color variation in an image for printing anymore! Still Duotone effect is attracting more attentions since it is simply beautiful. To me, Duotone is an enhanced version of grayscale with two-distinct color effect which creates an illusion of a subtle richness and modernity in the image! Ok, but how to create Duotone effect? Well, the simple answer is to watch this video and follow along and you can make it in a minute. In this video, we use a very easy technique in Adobe Photoshop and within a few clicks, we create a Duotone effect. The steps are also provided so if you want to remember the steps after watching the video, have a look into the step-by-step guide.
Steps:
Open Photoshop and browse the image you want to apply the Duotone effect on it!
Select the image layer and click on the “Adjustment layer” icon.
Choose “Solid color”.
In the appeared window choose a color (any color you like more).
Click on some empty space on the new created layer (the color layer) or alternatively open “Layer” menu and select “Blending option”.
“Layer Style” window will show up.
In the appeared window, have a look at the Red Green Blue, or RGB channels.
Test and try to find the best tonal color for your image by deselecting one color and having two other colors selected.
Press “Ok” to close the window and click on the new layer again to change and adjust the duotone effect on your image if you wish to (optional step).