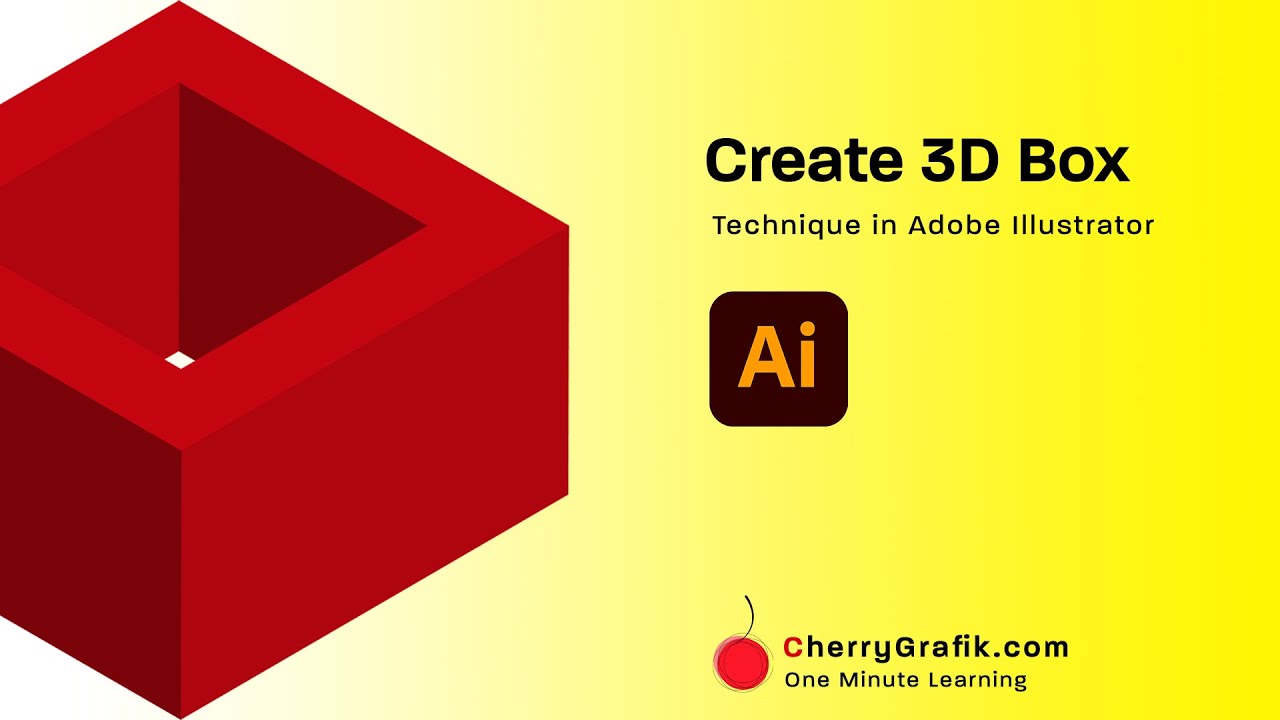
How to create a 3D Box in Illustrator? Have your ever googled this question? If yes, I’ve got a short, practical answer for you. 3D objects like a 3D box can be used in different designs like product designs It is absolutely an essential technique to learn in Illustrator to create 3D objects to be able to illustrate what you imagine in a way other can see it the way you do! This third dimension you add to your creative designs, makes your designs more alive and even professional. In this video we learn how to create a 3D box that can inspire you to create more 3D objects to use in your artworks.
Steps:
Open Adobe Illustrator and set a blank canvas.
Select rectangle tool and draw a rectangle.
Select move tool and press Alt key on the keyboard and drag the rectangle to make a copy of it.
Shrink the second rectangle.
To align them, use “horizontal align center” and “vertical align center”.
Select both the rectangles, and from the “window” menu select “pathfinder”.
Select “minus front” among the shape modes.
Select the shape again and from the “Effect” menu, navigate to, “3D” and select “Extrude and Bevel”.
In the appeared window, set the position to “Isometric Top”.