Subscribe to Cherries YouTube Channel
Clipping Mask technique in Adobe Photoshop
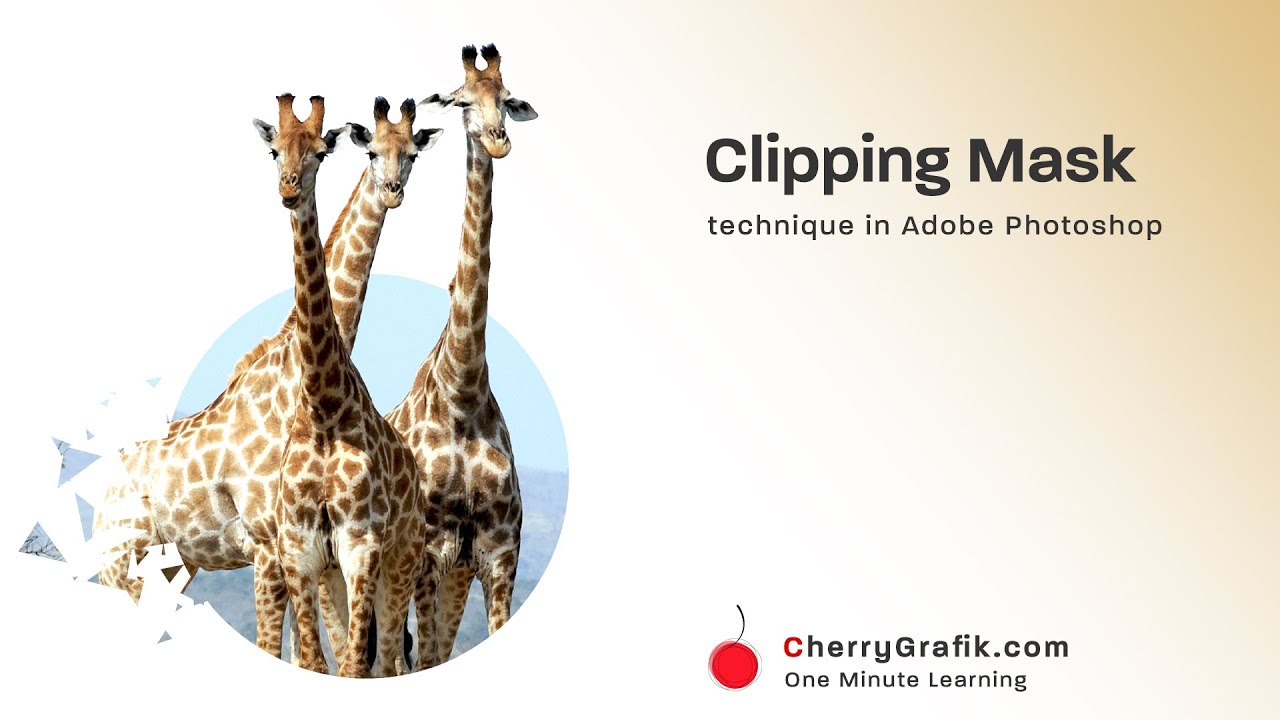
In this video we learn how to put an image inside a shape or text. This technique can be used for both!
This creates an illusion as if the image is actually inside the text!
This brings the feeling of the image live to the text and your text becomes more descriptive with a strong touch of the image.
We do this using Clipping Mask technique in Photoshop, a simple as a piece of cake and handy technique that you can learn and perform it in just a minute.
Steps:
- Open Adobe Photoshop.
- Type your text.
- Insert, or drag the image you want to put inside the text to your main file.
- Use keyboard shortcuts Ctrl + T on windows or Command + T on Mac to adjust the size of the image (you can also do it in step number 6).
- Right click on the inserted image layer and select “create clipping mask”.
- Move and adjust the image inside the text.
- Use Free transform tool as in step 3 stretch or shrink it inside the text.


